How do I use the “HR Data / Leave / Absences” application?
Thank you! Your submission has been received!
Oops! Something went wrong while submitting the form.


Before you start using the app, you need to set it up – follow the detailed instructions.
Example of using the HR app: Data / Leave / Absences
System data.
Standard fields completed on the employee’s profile on the portal are automatically populated into the required fields:
– First name and surname
– Company name
– Department, job title
– Contact details (email, telephone number, etc.)
We add further information about the employee.
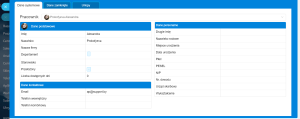
Personal details.
This section contains internal information relating to employment within the company. Let’s fill in the details regarding the employee’s employment and development within the company. Click the ‘Edit’ button on the right-hand side of the interface. This information can be saved to a previously created company drive by specifying this drive in ‘Settings’
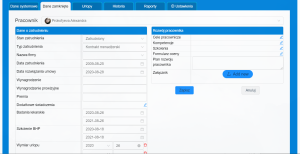
Requests for holidays, absences and leave.
View the full picture for both an individual employee and the entire company in a calendar by month, week or day.
The diagram visually displays the total number of leave days, the number of unused days and absences.
Year-based view:
if you are viewing the current year, the days for the current year are displayed;
if you are viewing the previous year, the data for the previous year is displayed.
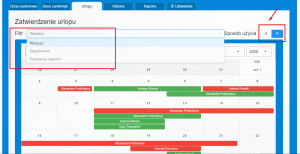
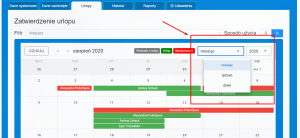
– Leave request.
Click the desired start date for your leave. In the menu that appears, select the period and reason, then click OK.
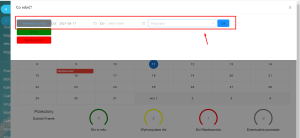
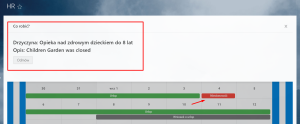
To approve or reject a leave request, the HR department clicks on the employee’s request, selects the relevant option and clicks OK.
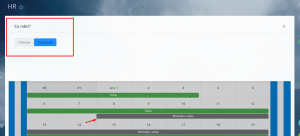
– Mark an absence from work.
Click on the desired day of absence. From the menu that appears, select the duration of the absence, the reason for the absence, enter a description and click OK.
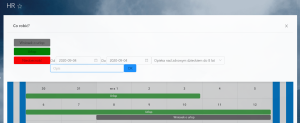
To view information about an employee’s absence and/or reject the absence, the HR department clicks on ‘Employee absence’, checks the reason for the absence and/or selects the required action.
– Leave.
Click on the desired start date of the holiday. In the menu that appears, select the holiday period and click OK.
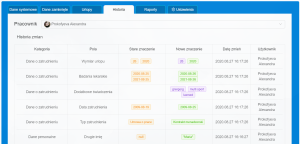
History of changes to employees’ personal details. Within the application, you can track who, when, how and which details have been changed. In addition, you can also archive data at a certain stage (e.g. save the current information before adding changes). Only employees with HR and CEO permissions have access to this tab.
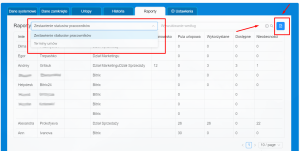
Reports.
Within the application, you can generate reports on employee data, as well as reports on the terms of employment contracts. All data is sorted and displayed using a filter. Only employees with HR and CEO permissions have access to this tab. Reports can also be downloaded in Excel format. If you wish to find a specific employee, select ‘employee data’ and enter the employee’s surname; you can also find an employee by job title by selecting ‘job title’ or according to the terms of their contract by selecting ‘terms of contracts/employment contracts’.
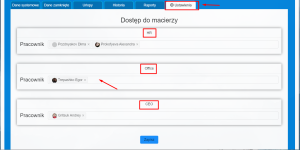
Settings.
Only the portal administrator has access to the settings.
In the access matrix, employees must be assigned roles according to their position. By default, the application allows three types of permissions to be granted: HR, Office and CEO.
Once the employees’ roles have been defined, the administrator clicks the SAVE button.
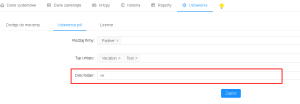
In the “Field Settings” tab, you can also specify:
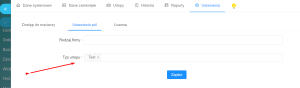

In Settings, you must specify the drive within the Bitrix24 portal where files from the ‘ATTACHMENTS’ field will be saved. Ensure that the application has write permissions for the selected folder on the drive; otherwise, the attachments will not be saved.